Here is a guide to understand how Time Conditions work.
What is a Time Condition?
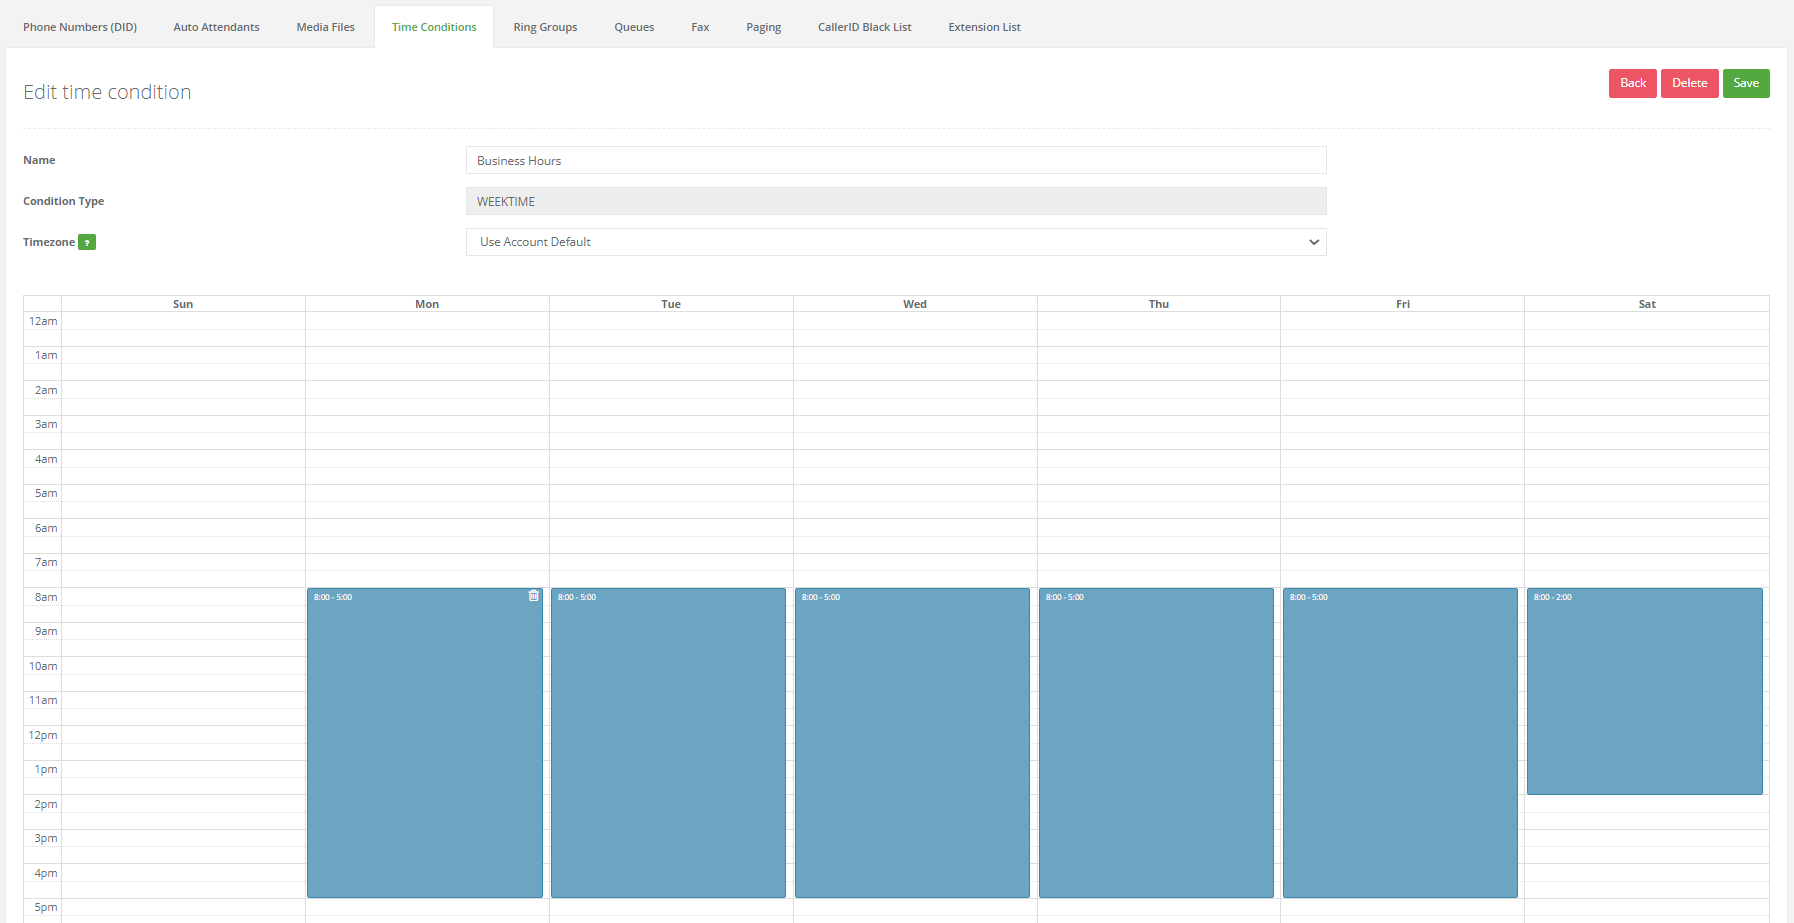
Time Conditions are part of the setting that determines where the calls flow to in your business and when. Time conditions will be impacted by your set business hours, and what happens during that time when calls come in. It also applies to weekends, holiday's and any other special circumstance that will imply a change on the normal hours of operation for your business and where calls are routed.
Are Time Conditions necessary?
Time conditions help schedule your auto-attendant, voicemails and extensions availability in your business. It is necessary to make the best use of your VOIP system with GreenLink Networks. It also offers customers and callers in general a better caller experience.
How to create a Time Condition?
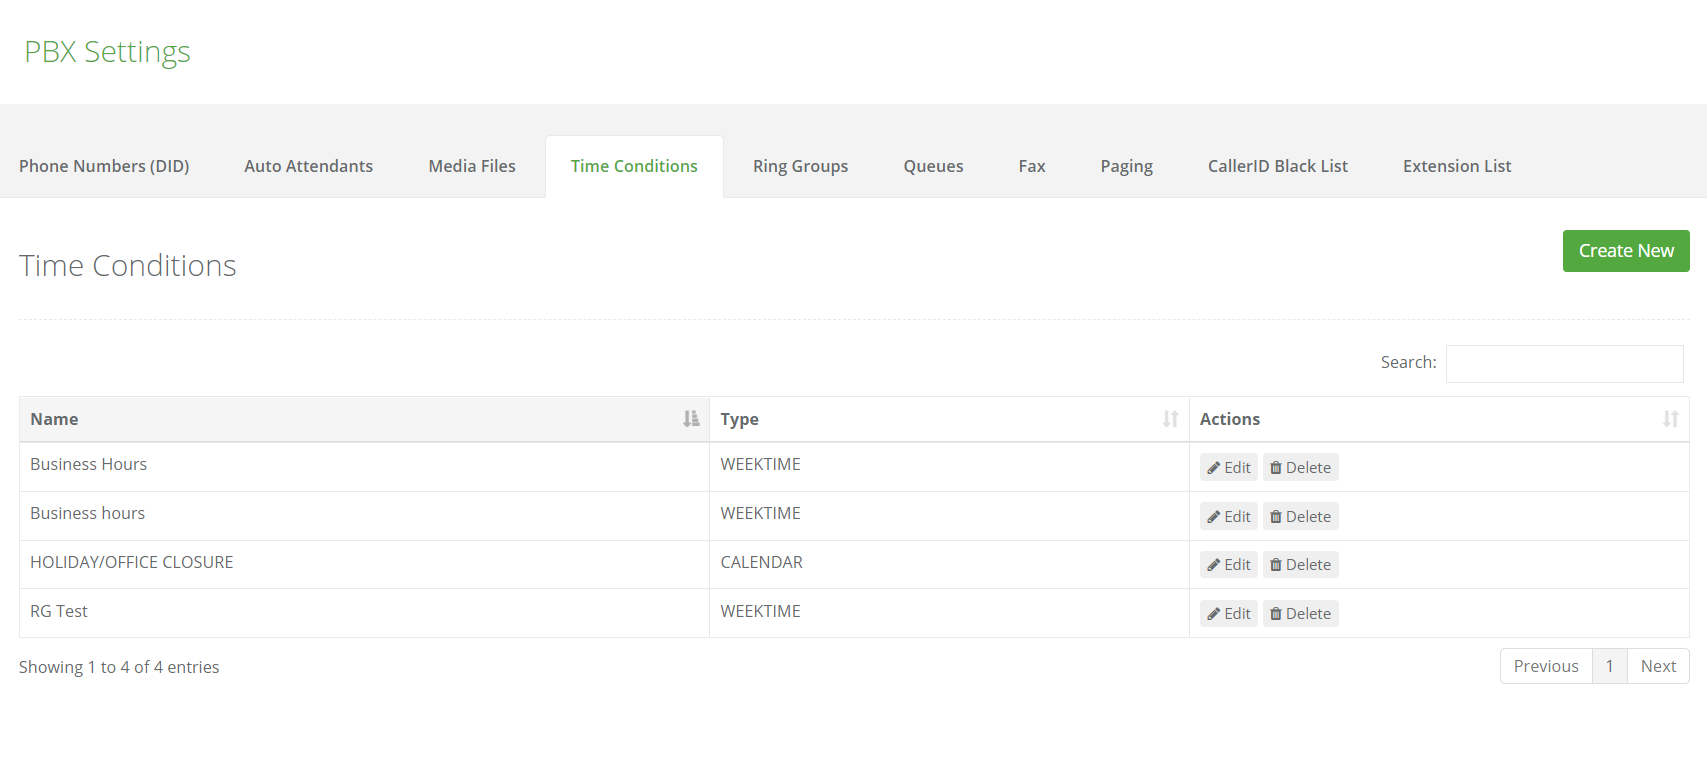
Once your DID has been set up, by accessing the customer portal with the PBX access for your business, you can find the Time Conditions area. From here you can Create New time conditions.
Procedure
- Log in to the Customer Portal with the Admin/PBX credentials for your company.
- Click on log in.
- Once the page loads click on PBX. (Top banner in the middle or icon button below PBX option)
- Once in the PBX area click on the "TIME CONDITIONS" Tab.
- On the top right hand side there will be a green and while button that reads "CREATE NEW".
- Click on this button to create a new time condition.

How to edit/manage Time Conditions?
Time conditions are managed directly from the Customer Portal.
Procedure
- Log in to the Customer Portal with the Admin/PBX credentials for your company.
- Click on log in.
- Once the page loads click on PBX. (Top banner in the middle or icon button below PBX option)
- Once in the PBX area click on the TIME CONDITIONS Tab.
- The existing time conditions will show in the middle of the page.
- On the far right, following an existing time condition, under "ACTIONS" you will find the option to "EDIT" or "DELETE" the time conditions as needed.

