Setting up your GreenLink Desktop Softphone
Procedure
- Open your email and look for an incoming email with the subject "GreenLink Customer Portal Account".
- Under the credentials created for you click on the URL line, this will take you to the Customer Portal Log In page.
- Once in the Log In page, copy and paste the USER ID on the EMAIL cell and Password in the appropriate cell.
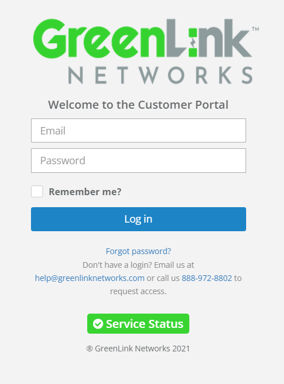
- Click on Log In.
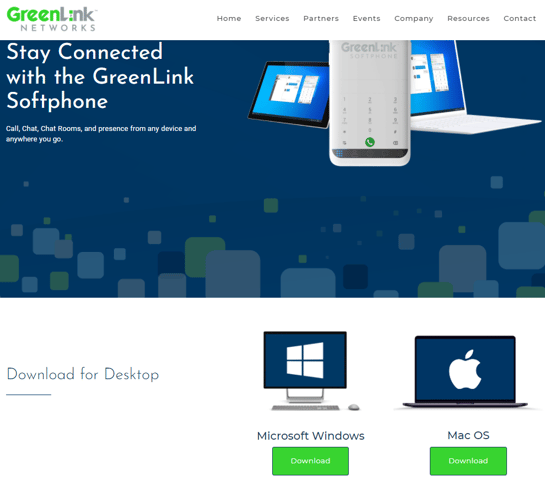
- Once the page loads the Customer Portal Dashboard will show, look for the DOWNLOADS title and click on it.

- Once GreenLink's download page opens, find your preferred download option and proceed to download GreenLink's softphone.
- When the download is finished, proceed to run the file and complete the installation of your GreenLink softphone.
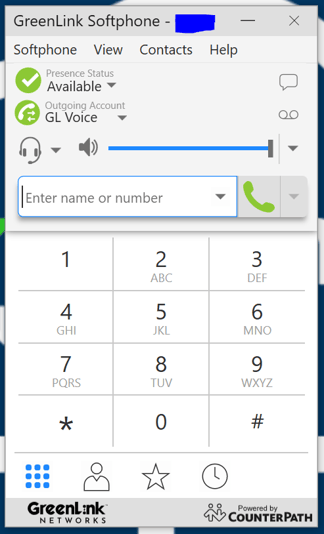
- Double click to open the GreenLink Softphone application from your desktop.
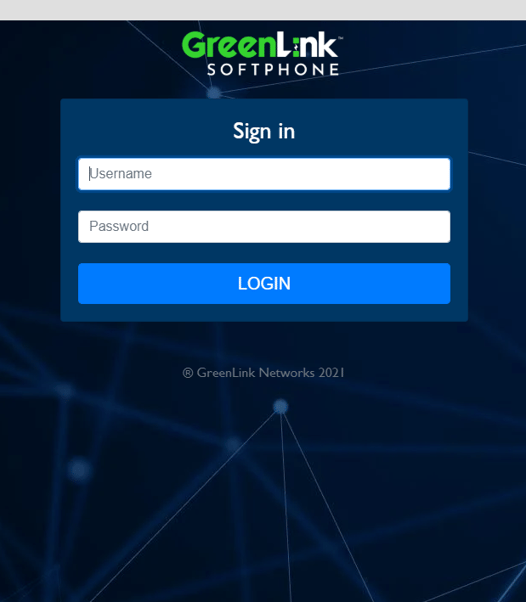
- Proceed to enter the User ID (email) and Password (same one used previously to log in to the Customer Portal).
- Click on log in and the softphone will boot up and it will be ready to make and receive calls.