It is now possible to include a Cover Page on the fax document when sending a fax to a particular destination.
A new design and some additional fields were added to the “Send a Fax” form located in the Fax module.
Step By Step Guide
Step 1
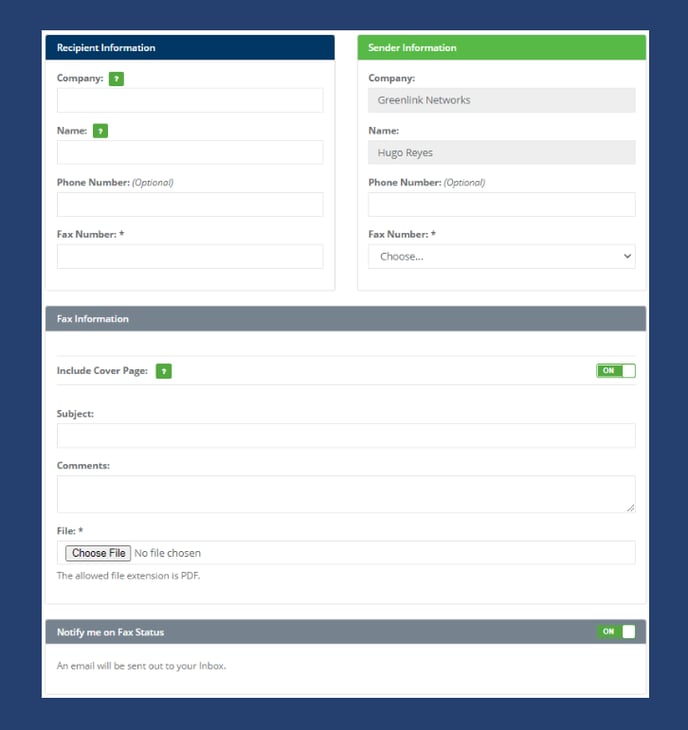
As before, the user would click on the “Send a Fax” button and a similar pop-up will appear. (See image 1).
Step 2
The “Include Cover Page” option will be enabled by default, and the new fields are presented.
Step 3
The user would need to complete the Recipient Information.
a) Name, Company and the Fax Number would be required fields.
b) Phone Number is optional.
Step 4
On the Sender Information box:
a) Name and Company would be auto-populated by the system with the user that’s logged in.
b) Phone Number would be optional.
c) And then, the user can select their Fax Number from the dropdown. If there’s only one option available, it would be automatically pre-selected.
Step 5
Under Fax Information:
a) Subject and Comments will be required if Cover Page is enabled.
b) Then the user can upload the fax document in PDF format.
Step 6
“Notify me on Fax Status” is enabled by default, and if left this way, it will send a confirmation email to the user that’s logged in with the fax status.
Step 7
When “Include Cover Page” is disabled, the user would only need to go through the required fields, and that would be a similar process as it was before.
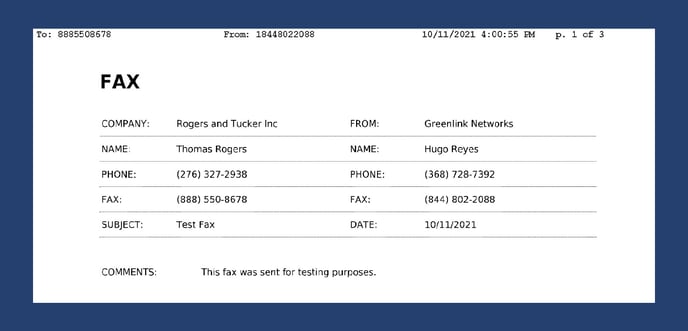
How the Cover Page looks on the Fax Document
When the end-user receives the fax, it will now include the Cover Page (whenever selected).
The image below shows an example of how it looks. It contains all the information submitted through the form.